Final Work
The final edited picture are below.
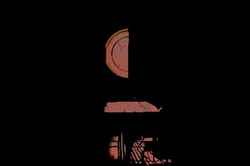
This picture is an edit of one my best pictures it now looks more mysterious and evil with a bit of darkness. This edits contrast has not been altered unlike my other edits but the brightness has it also has a pale red mask to give the light effects that colour.
This picture is an edit of a picture that was not that good un edited it was over exposed and imperfect.
The way I achieved this edit is by raising the contrast to the max and adding a contrasted red mask over the top to get the red hue the shadows have been increased whilst the brightness has been reduced.
The way I achieved this edit is by raising the contrast to the max and adding a contrasted red mask over the top to get the red hue the shadows have been increased whilst the brightness has been reduced.

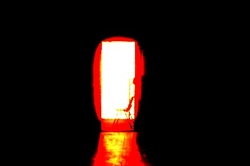
This picture has been edited to make it seem a little less bright and cheery.
For this edit I maxed out the contrast and dimed the brightness to give the door a sort of glow I then made a fade mask over the top so it looks a little more old and mysterious.
For this edit I maxed out the contrast and dimed the brightness to give the door a sort of glow I then made a fade mask over the top so it looks a little more old and mysterious.
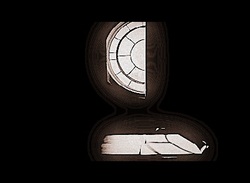
This picture is a edit of my best picture to make it seem a little old and worn.
To get this edit I upped the contrast and brightened it a little then I increased the shadows to make the dark more dark and leave the rest of the image the same. I then turned the image black and white whilst make it have darkened edges and a brown hue around the window and table.
To get this edit I upped the contrast and brightened it a little then I increased the shadows to make the dark more dark and leave the rest of the image the same. I then turned the image black and white whilst make it have darkened edges and a brown hue around the window and table.
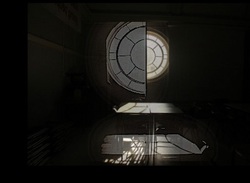
this picture is a edit of and edit. one of best pictures combined with edit four.
the stages to this edit are fairly simple the stages from edit four are required to get the picture like this I then flipped the smaller half of the window then faded the overlaid image to get this look.
the stages to this edit are fairly simple the stages from edit four are required to get the picture like this I then flipped the smaller half of the window then faded the overlaid image to get this look.
